
Burning Tips & Candle care
General Safety Tips for Beeswax Candles
Wick TLC
- Keep your wick trimmed to about 1/4 inch (6mm). This helps keep the flame steady and prevents excess smoke.
- Always trim the the tip of the wick after each burn, while it’s still slightly warm. Trimming a cold wick can cause it to snap, making relighting difficult.
The First Burn Matters
- Beeswax candles have a “memory,” meaning they’ll follow the burn pattern from their first use.
- To avoid tunneling, let the wax pool reach the edges before blowing it out. A good rule of thumb? Burn one hour for every inch in diameter (e.g., a 2.5-inch pillar should go for at least 2.5 hours).
Burn Time & Safety
- Avoid burning your candle for more than 4 hours at a time. Burning longer can cause excessive heat buildup, leading to carbon buildup on the wick and an unstable flame.
- If you’d like to burn your candle for an extended period, extinguish it after 4 hours, hug the edges if necessary (see 'Hug Your Candle' below), let it cool, trim the wick if needed, and relight.
Keep It Clean & Safe
- Dust and dirt don’t belong on your candle. If it gets a little messy, just wipe it gently with a paper towel or a lint-free cloth.
- Always burn your candle on a heat-resistant surface and away from anything flammable.
- You can totally burn candles outside or in a drafty space, but be aware that too much air movement can cause uneven burning, dripping, or flickering.
The Best Way to Put It Out
Blowing out a candle can create smoke and a lingering glow, so try this instead: Dip the wick into the melted wax with a metal tool, then straighten it back up. This stops the smoke and makes it easier to relight next time.
Hug Your Candle
As your candle burns, you might notice the outer edges of wax stay tall and don’t fully melt. While the candle is lit or right after extinguishing the flame, gently “hug” the edges inward toward the center. This helps maintain an even burn and ensures you get the most out of every bit of wax.
Fixing an Uneven Wax Pool
If you notice that your wax pool is melting unevenly—often due to the wick leaning to one side—use a metal tool to gently nudge the wick toward the unmelted side. This helps balance the heat and encourages a more even melt.
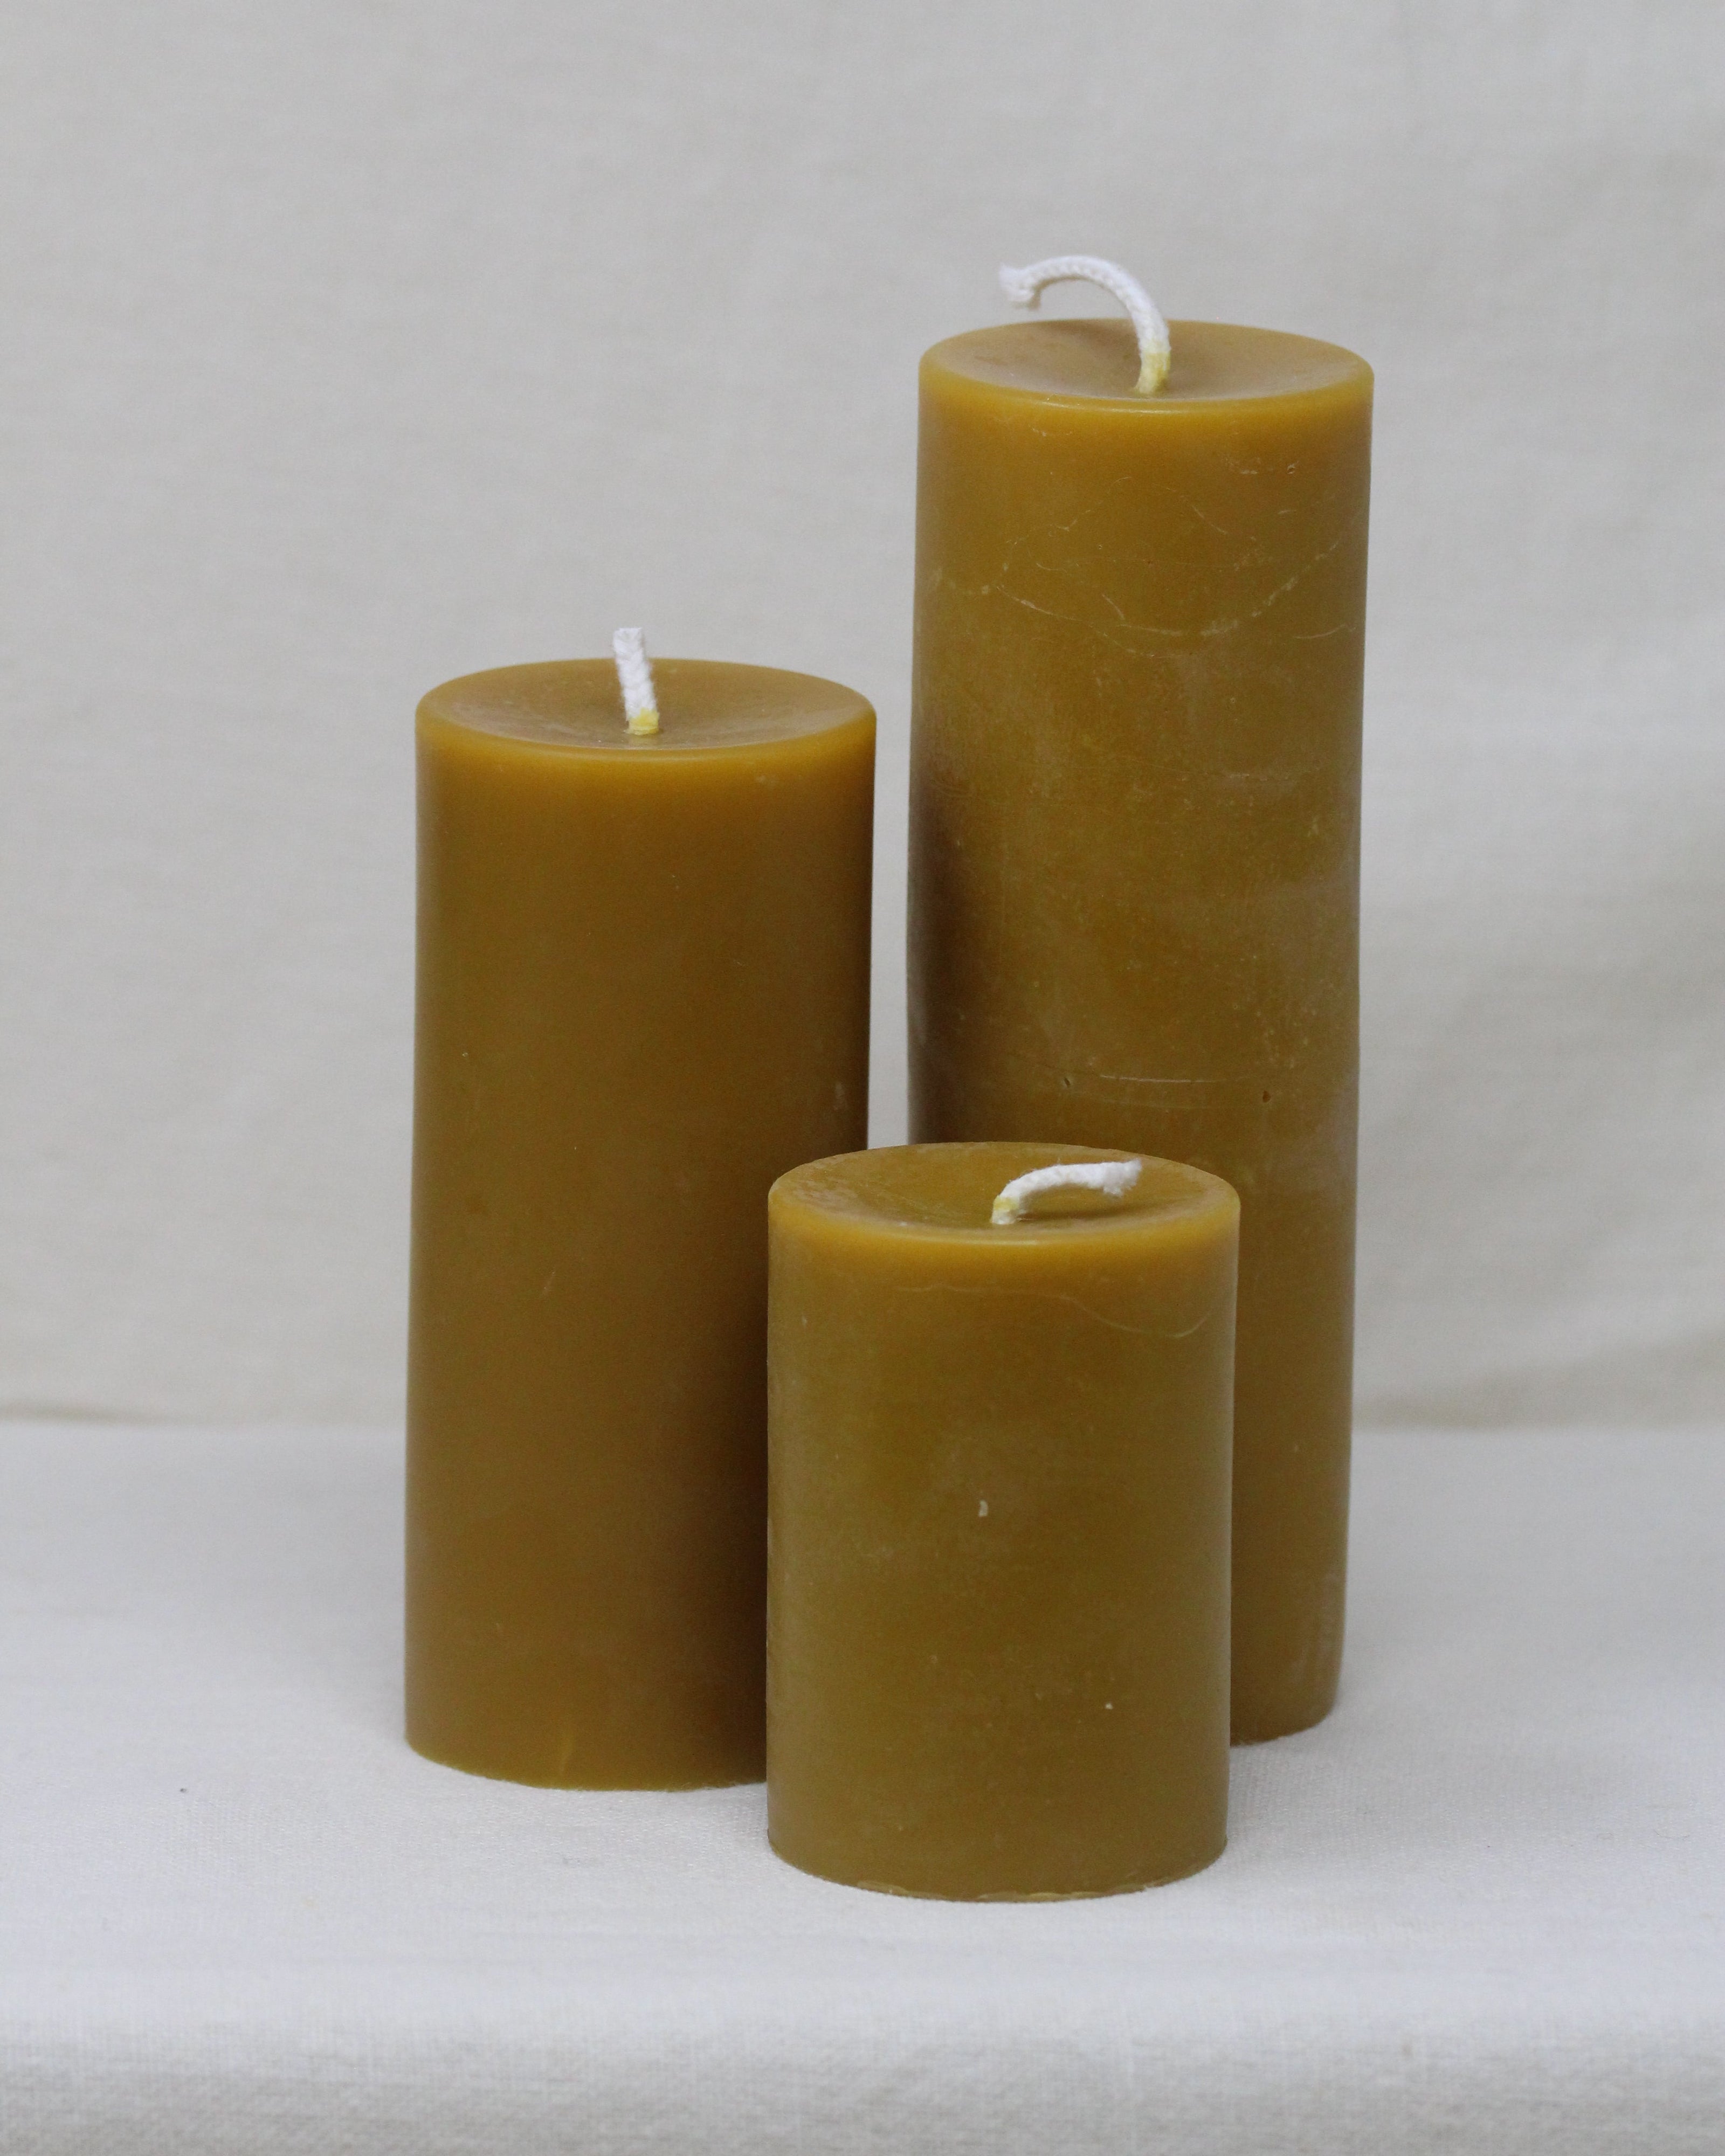
Use a Pillar Plate
While beeswax pillars can be burned free-standing on a solid, heat-resistant surface, we recommend using a pillar plate or holder. This helps protect your surfaces from heat and any accidental wax overflow.
Not for Use in Hurricane Containers
Beeswax burns hotter than other waxes. DO NOT place your pillar in a hurricane container or tall glass/jar. It can trap heat, disturb airflow, and lead to dripping, smoke, or even collapsing walls. Let your candle breathe in the open.
Let Pillars Burn for Longer Sessions
Aim to burn your beeswax pillars for 1 to 1.5 hours per inch of diameter. For example, a 3" pillar should burn for at least 3 to 4.5 hours. This ensures the wax pool reaches the edges and prevents tunneling or relighting issues.
Tunneling: Friend or Foe?
While tunneling can create a beautiful lantern effect as the flame glows through the wax walls, it’s usually best avoided. Hug your candle now and then to help it burning evenly.
Fixing Pillar Wall Issues
- If the wall is too thick: This usually means the candle wasn't burned long enough. Once the wax pool hardens, carefully trim the outer wall down to the level of the pool using a heated knife.
- If the wall is too thin or leaking: The flame might be too large. Extinguish the candle, trim the wick slightly, then let it cool and harden completely before relighting. Avoid moving the candle while wax is still soft.
How to Relight a Beeswax Pillar
Use a lighter and hold the flame to the base of the wick for 5–10 seconds. This melts the hardened wax and allows the wick to absorb new wax and catch flame properly.
If the Wick Won’t Stay Lit
It might be one of two things:
- The flame you're using to light the wick isn’t strong enough—beeswax wicks are thicker and need more heat to start.
- The wick is too short. You can expose more wick by gently melting or digging away some surrounding wax. Then burn it long enough to reestablish a full wax pool.
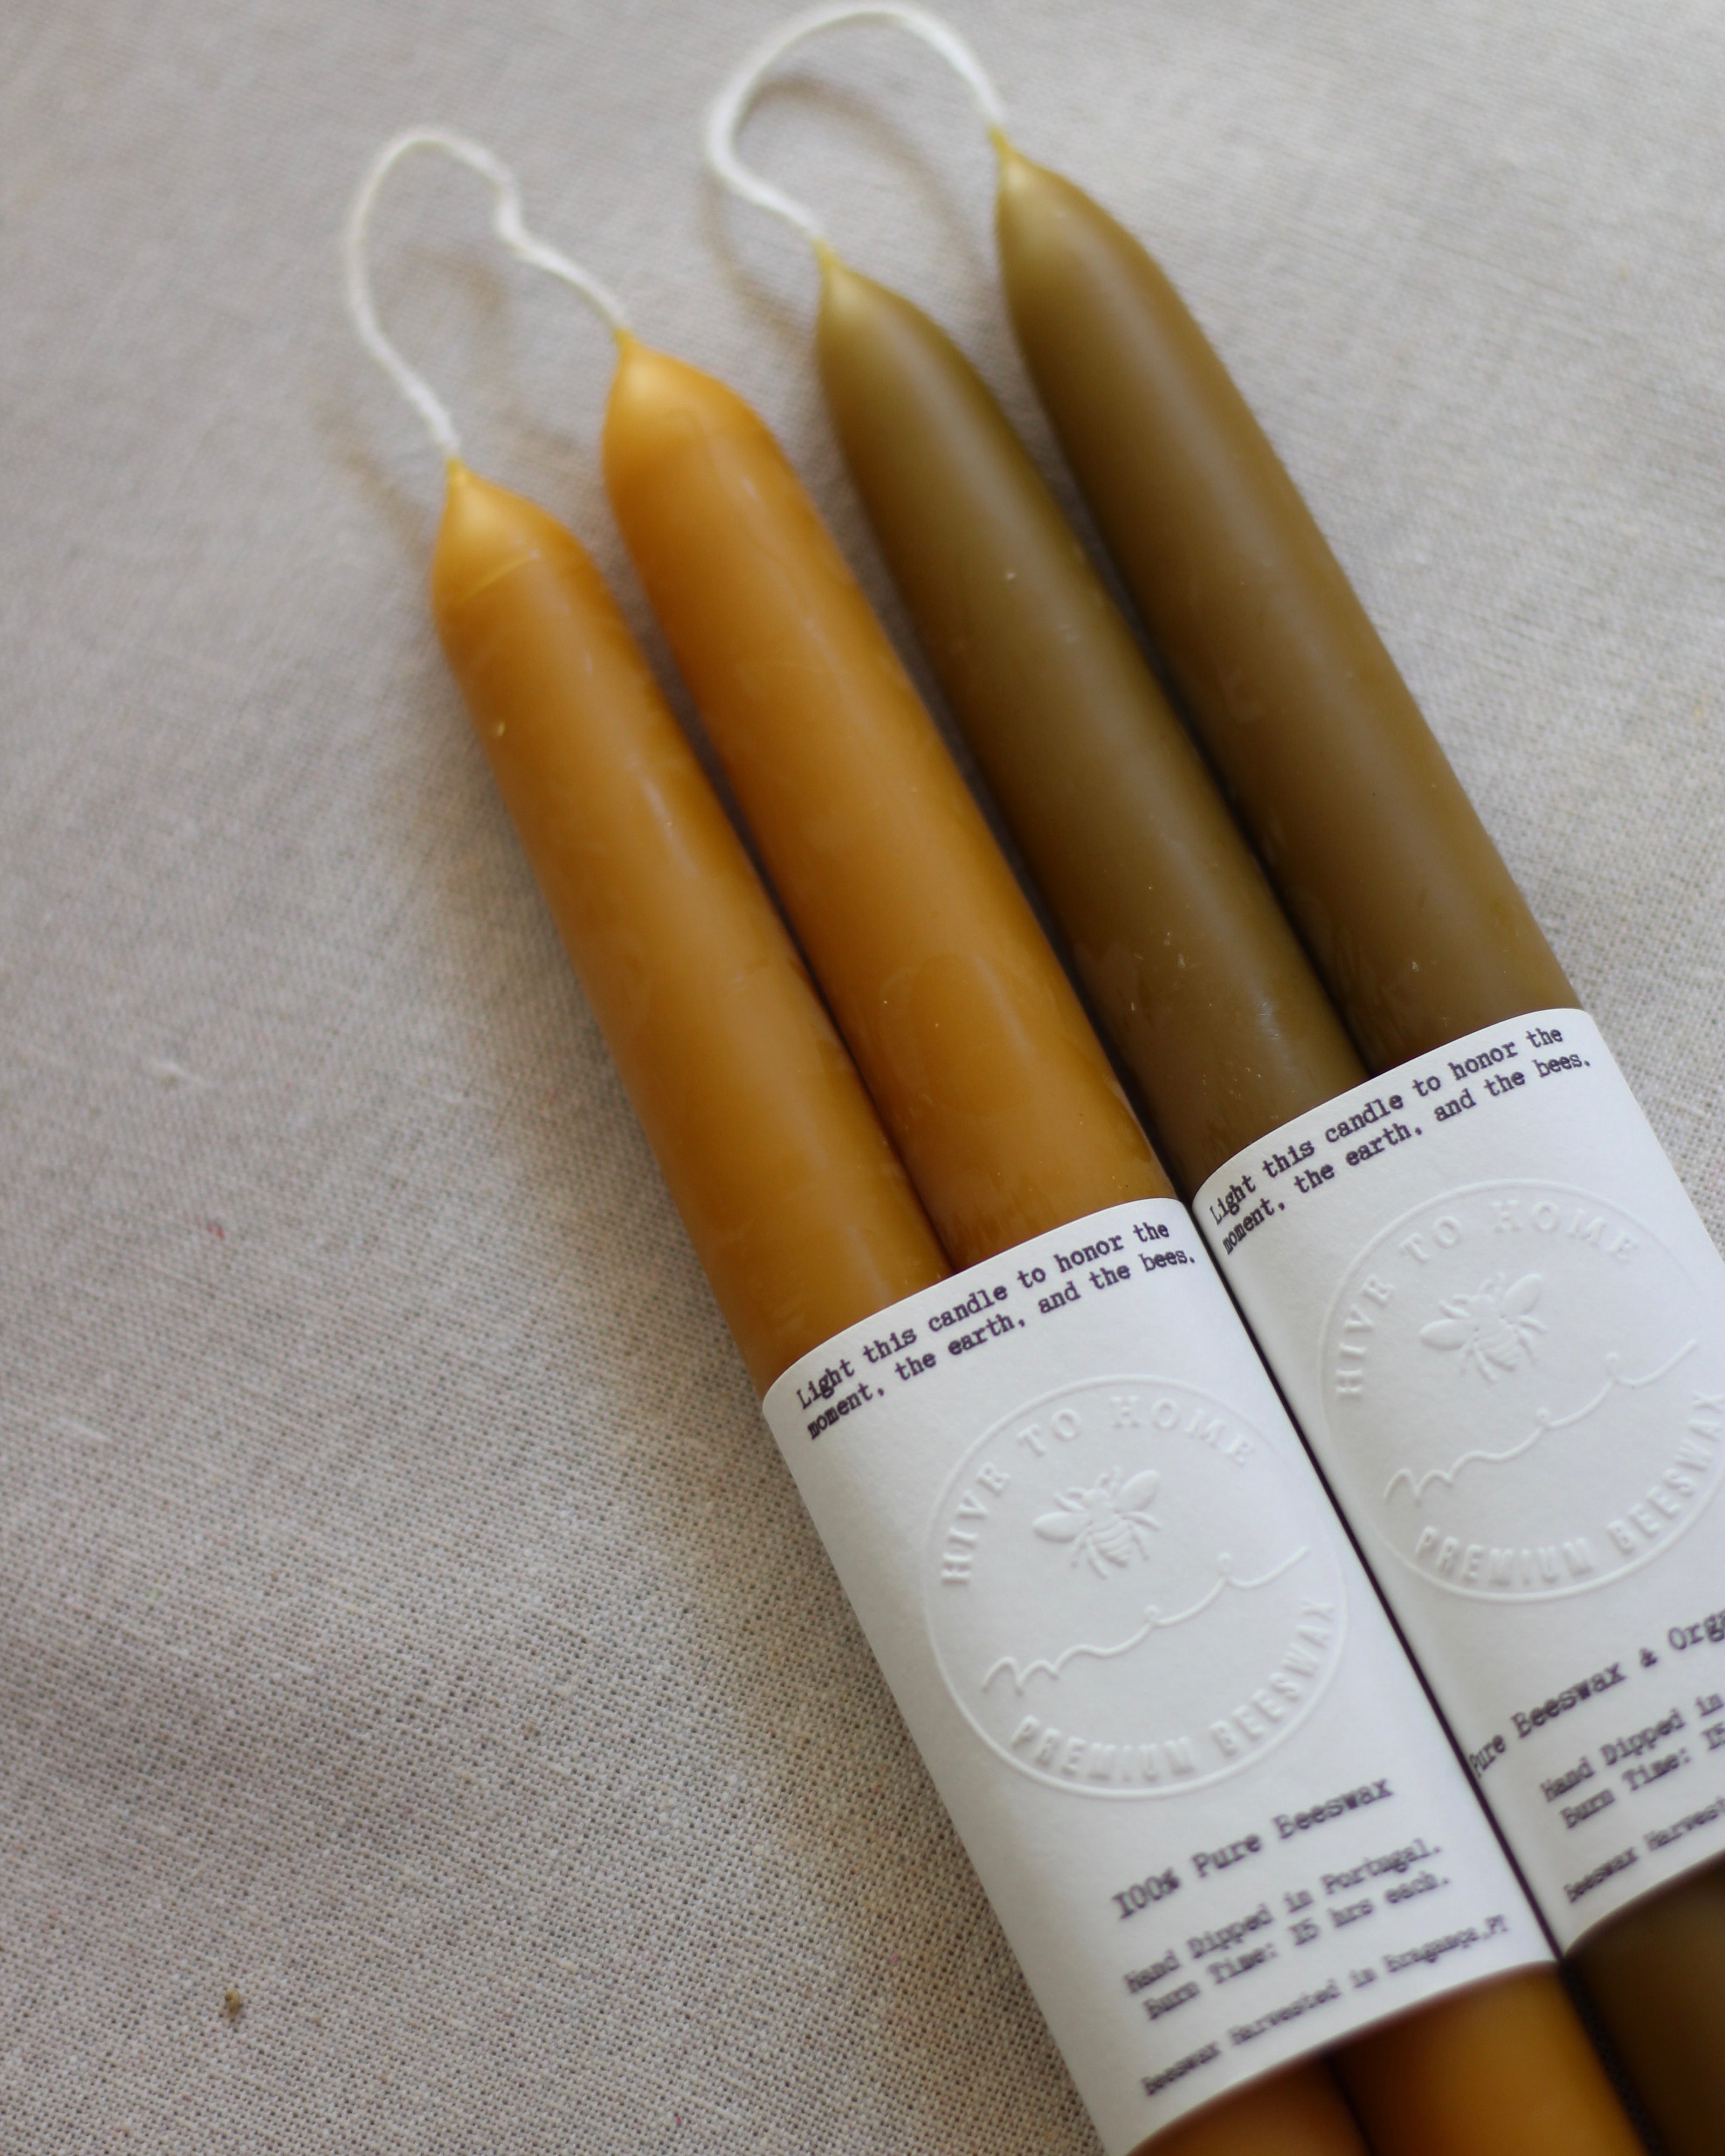
Use a Proper Taper Holder
Always secure your taper candle in a sturdy, upright taper holder. This keeps it stable and ensures a safe, even burn.
Keep It Draft-Free
If you’re aiming for a dripless burn, place your taper in a calm, draft-free space. Wind, fans, or open windows can cause flickering flames that lead to dripping.
Wick Care for Drip-Free Burning
- Before the first burn, trim the wick to 1/4 inch.
- Before relighting, you can gently pinch or trim the very tip of the wick to remove any carbon buildup.
- Generally, the wick will self-trim as it burns. Avoid trimming it too short—doing so can cause the flame to burn too low, melting the taper’s delicate edge and leading to drips.
Extinguishing a Taper Candle
Use a candle snuffer for a clean, smoke-free extinguish. This prevents the wick from touching the side wall, which can weaken it and cause dripping later.
Avoid blowing out the flame—this can cause the wick to smolder, leading to poor performance next time you light it.
Don’t touch or adjust the wick once it’s cooled, as it may have become brittle and could break.
Keep It Straight
Tapers need to be perfectly vertical in their holder. If they lean, even slightly, the wax pool may overflow, causing drips down the side.

Burn on a Heat-Resistant Surface
Stubby candles are designed to be freestanding, but they should always be placed on a level, heat-resistant surface. A ceramic or metal plate works well to protect your furniture from heat or stray wax.
Keep Them Upright
Even though they don’t need a holder, stubby candles still need to stand perfectly upright. If they lean—even slightly—they’re more likely to drip as the wax pool shifts to one side.
Avoid Drafts
To encourage a drip-free burn, keep stubby candles away from open windows, fans, or air vents. Flickering flames can cause uneven burning and wax overflow.
Wick Care for a Clean Burn
Trim the wick to 1/4 inch before the first burn.
Before relighting, pinch or trim the tip of the wick if it has built up carbon.
Avoid trimming it too short, as this can reduce the flame height and cause the wax to overflow the edges.
Extinguishing Your Stubby
For best results, use a wick dipper or metal tool to gently push the wick into the melted wax pool and then straighten it.
This avoids smoke and helps preserve the wick for next time.
Don’t blow out your stubby—it can cause hot wax to splatter and leave a smoldering wick.
Let the Wax Pool Form Fully
Allow the candle to burn long enough during each session for the wax pool to reach close to the edges. This helps prevent tunneling and maximizes your burn time.

Use a Votive Holder or Plate
Our beeswax Votives aren't always able to contain their wax pool if burned for extended periods of time. We recommend burning them in a snug votive holder or on a heat-resistant plate to protect your surfaces.
Shorter Burn Time
Because votives have a smaller wax volume (approx. 50g), they are designed for shorter sessions. Allow them to burn for at least 1 hour per use, or until the wax pool reaches close to the candles edge.
Wick Trimming
- Trim the wick to 0.6 cm (1/4 inch) before the first burn.
- After each use, you can gently remove the burnt tip to keep the flame clean and steady.
- Avoid trimming a fully cooled wick—it may have hardened wax and could break off.
Balancing an Uneven Wax Pool
If your candle starts melting unevenly—often because the wick is leaning—use a metal tool to gently guide the wick back toward the side with unmelted wax. This helps distribute the heat more evenly and encourages a balanced, full wax pool.
Extinguishing Your Votive
- The cleanest method is to gently dip the wick into the wax pool using a metal tool, then straighten it for next time. This avoids smoke, helps preserve the wick, and prepares the candle for a clean relight.
- Avoid blowing it out, which can lead to smoldering and shorten the wick’s life.
Relighting Troubles?
If the wick becomes too short:
- Gently melt or scoop away some surrounding wax to expose more of the wick.
- Once exposed, let the candle burn for at least 1 hour to re-establish an even wax pool.
Featured collection
-
Heritage Pillars
Regular price From €20,00Regular price -
Ritual Flames
Regular price From €18,00Regular price -
Dinner Tapers
Regular price From €21,00Regular price -
Lumina Stubbies
Regular price From €23,00Regular price


